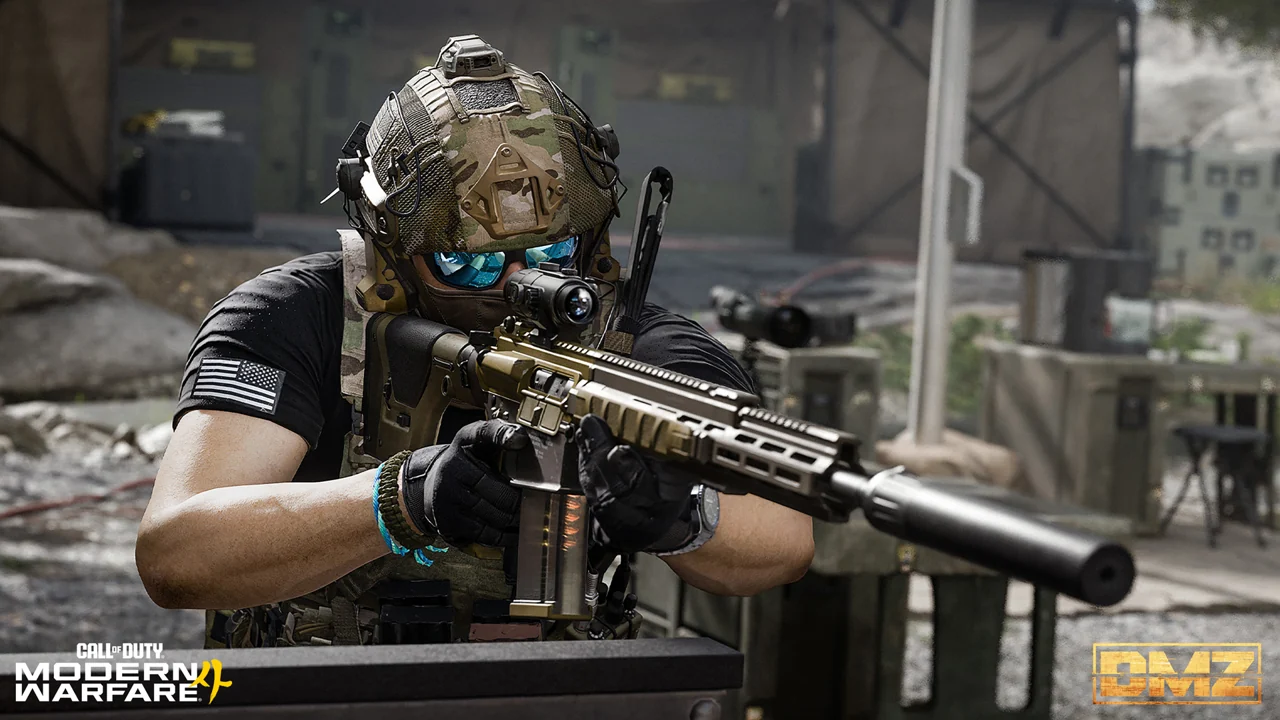
Solo DMZ: squad fill & matchmaking
Turn off Squad Fill to deploy alone. This selects your squad size; it does not guarantee a lobby containing only solo players.
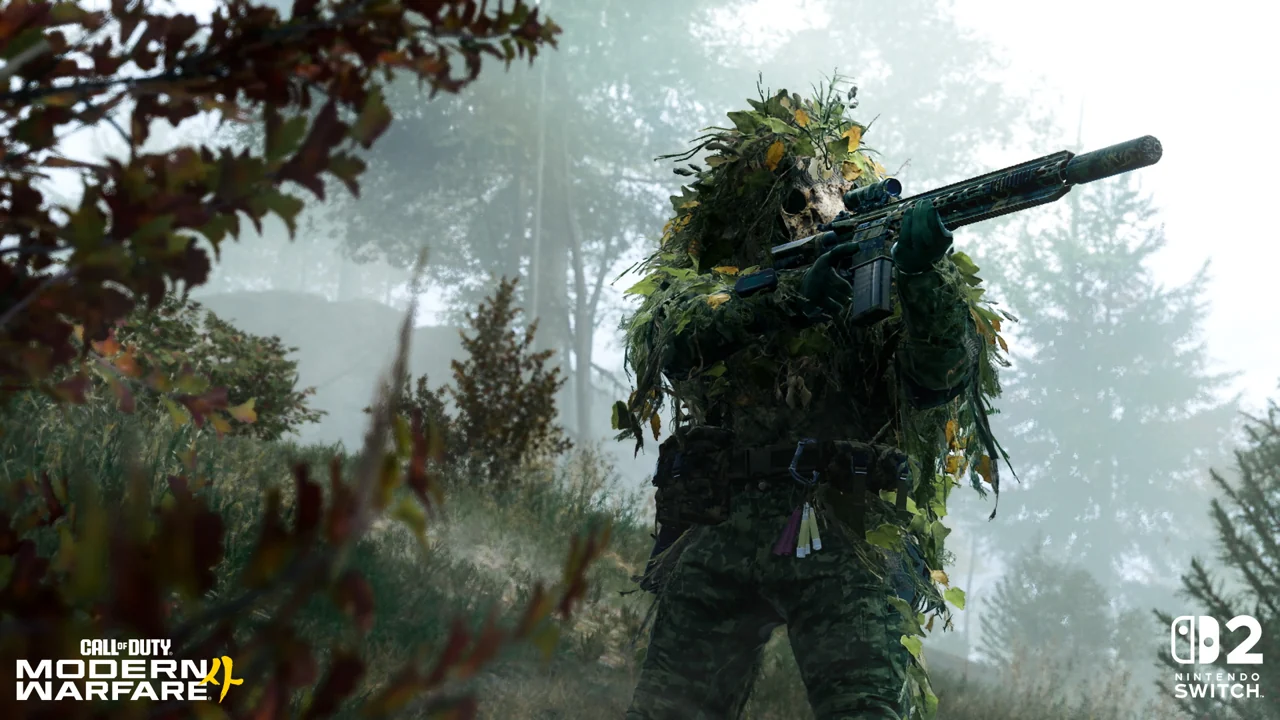
Game imagery © Activision. Used as an editorial reference.
What matchmaking tries to do
In its October AMA, Infinity Ward said matchmaking aims to place solos with solos, duos with duos and trios with trios, but cannot guarantee that grouping. The team also said assimilation can create groups of up to four. An initially solo opponent therefore need not remain alone.
Source for this sectionThe “Single Squad Mission” screenshot
The developers explicitly identified that video menu as an internal development playlist. It allowed the team to enter a match alone for work. It was not evidence that a private solo playlist would ship. Do not follow an unlock tutorial based solely on that screenshot.
Source for this sectionReady Up: switch off Squad Fill
At the FOB, select Deploy, choose a mission or infil method, and proceed to Ready Up. Squad Fill can be switched off there. With it on, the official guide says you deploy with two allied players. Ground infil is free; solo does not mean every infil method is free.
- Ready Up → Squad Fill → Off before confirming deployment.
- Choose one task that you can complete without a teammate holding another angle.
- Set an exit condition: the required item is secured, medical supplies are low, or the route becomes contested.
- Break contact when the task no longer justifies the equipment at risk. A solo setting is not a protection against PvP.
Which solo mechanics are confirmed?
Infinity Ward highlighted Tourniquet and the Stealth Meter for solo play. The official FOB recipe entry clarifies the medical requirement: a Medkit repairs wounds, restores full health and allows Tourniquet use to get up from Last Stand. Its starter recipe is 30 Chemicals, 1 Binding Catalyst and 5 Biomaterials. This does not grant protection from another player finishing the fight.
Save the Medkit ingredient list →
Source for this sectionGame facts are based on the official material linked below. Preparation checklists are our editorial recommendations, not guaranteed outcomes or first-hand test claims.